

















Your robot vacuum finishes a cleaning cycle, heads back toward its charging dock, and then stops just short of it. Or it reaches the dock, appears to connect, but the battery percentage does not increase. Sometimes the vacuum repeatedly leaves and returns to the dock without actually charging.
These problems can be frustrating, but they do not necessarily mean the battery needs to be replaced.
A robot vacuum relies on several things working together to charge properly: the dock needs power, the vacuum needs to make proper contact with the charging terminals, and its sensors and navigation system need to position it correctly. Dust, pet hair, a misplaced dock, or a temporary software problem can be enough to interrupt the process.
Before replacing the battery or contacting customer support, work through the checks below. Most of them take only a few minutes.
Check the Charging Dock and Power Connection First
Start with the charging dock before checking the battery.
Make sure the dock is plugged into a working outlet and the power adapter is securely connected. If your model has an indicator light, check that it shows the normal charging or standby status.
Keep the dock on a flat, stable surface with enough open space around it. Avoid narrow areas behind furniture or uneven floors that can prevent the robot from docking correctly.
This is especially useful in homes where the vacuum cleans basements, hardwood floors, or narrow areas around furniture. During winter, tracked-in salt, mud, and dirt can also make frequently used cleaning areas more crowded or dirty.
Once the dock has power and a clear approach path, place the robot on it and check whether charging starts.
Clean the Charging Contacts on Your Robot Vacuum and Dock
Dirty charging contacts are one of the most common reasons a robot vacuum reaches the dock but does not start charging. Dust, pet hair, and small debris can build up on the metal contacts and prevent a stable electrical connection.
Before cleaning, turn off the robot vacuum. Then use a clean, dry microfiber cloth to gently wipe the charging contacts on both the vacuum and the dock. Also check around the dock sensors and remove any visible dust or debris.
Avoid spraying water or cleaning products directly onto the charging contacts. Once everything is clean, place the robot back onto the dock and check whether the charging indicator appears.
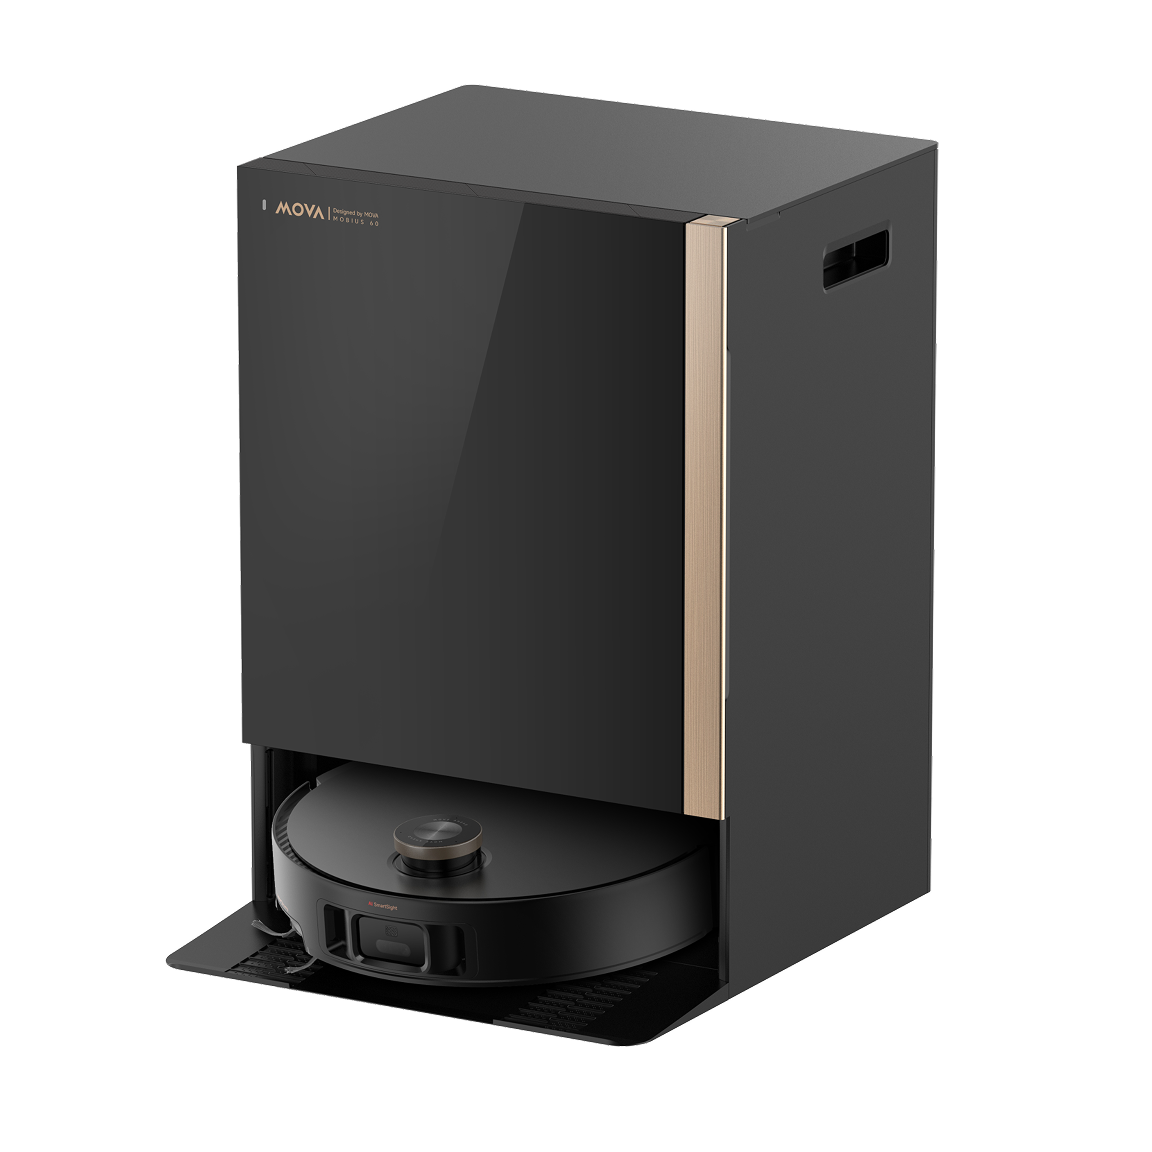
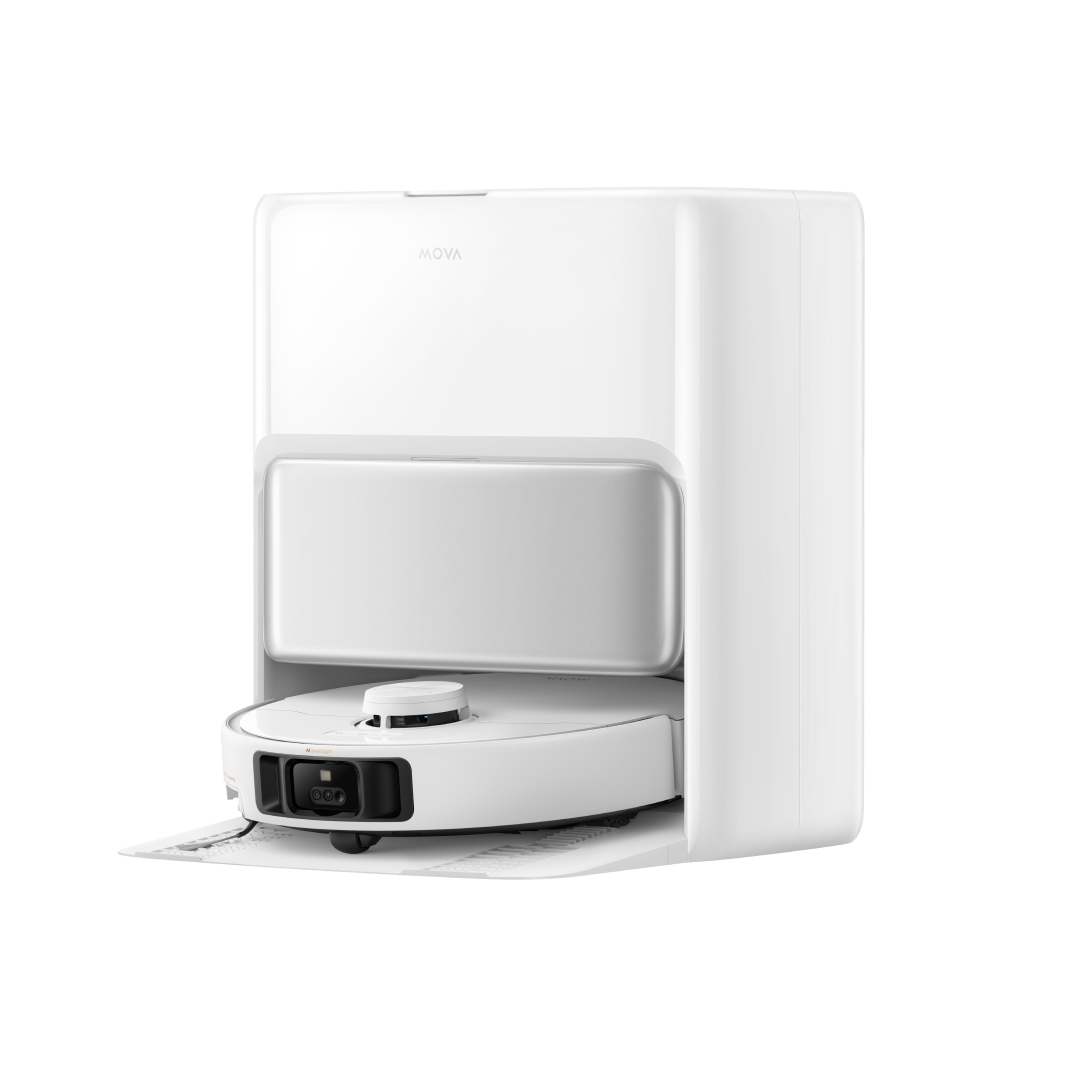
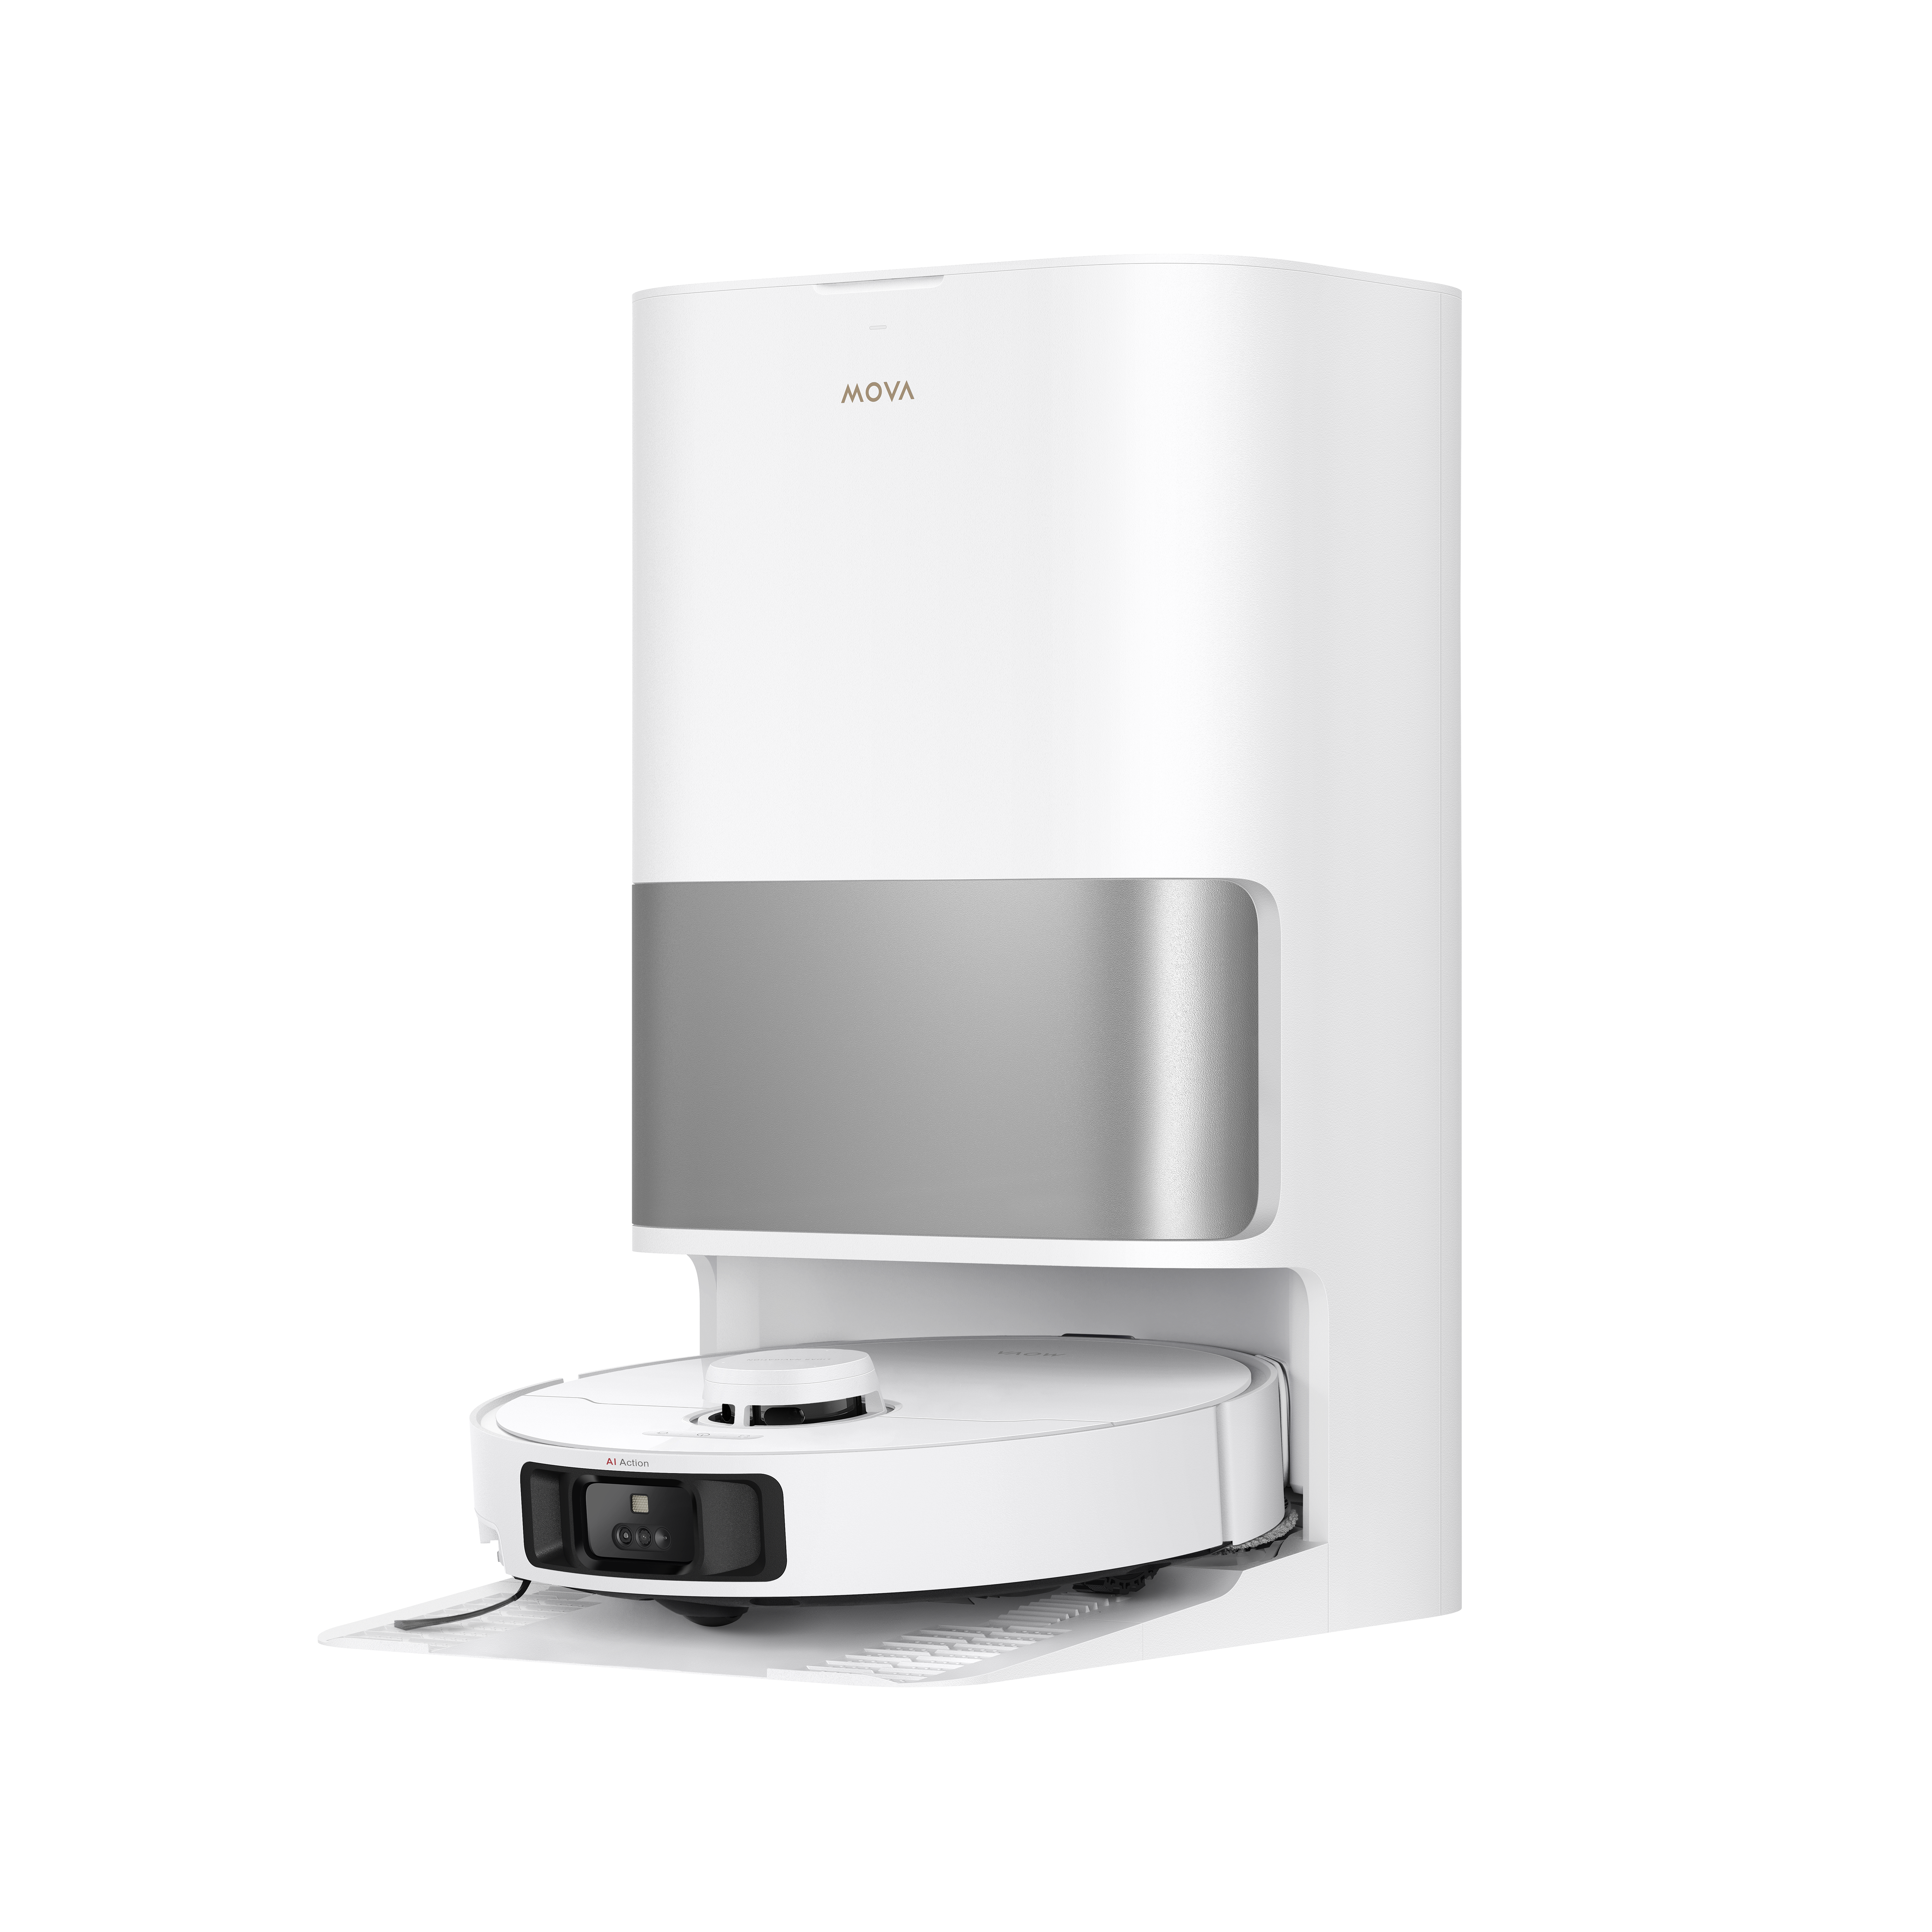
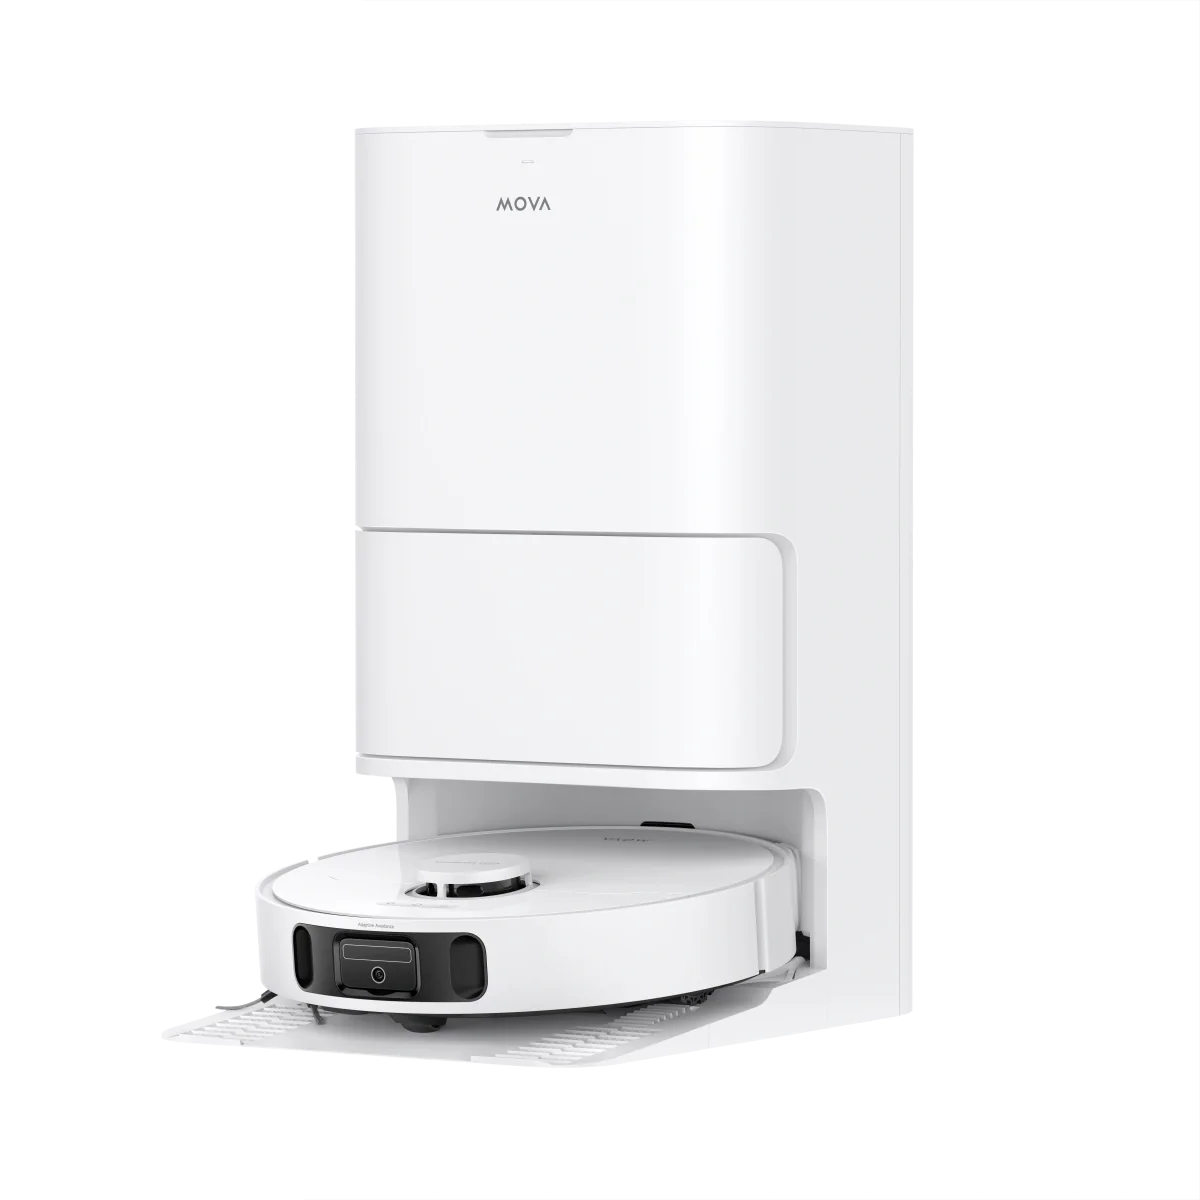
For MOVA robot vacuums with self charging and intelligent docking systems, regularly keeping the charging contacts and sensors clean can help maintain reliable automatic charging and docking performance.
If the robot still does not charge after cleaning, check whether it is sitting correctly against the dock before moving on to battery or software troubleshooting.
Make Sure Your Robot Vacuum Can Properly Return to the Dock
Sometimes the charging problem is not the dock itself. The robot may simply be unable to reach or correctly identify the charging station.
Check that the dock is not blocked by furniture, storage boxes, or other objects. Leave enough open space around it so the robot can approach and align with the charging contacts.
Avoid moving the dock frequently. If you have rearranged furniture or changed the dock's location, the robot's saved map may no longer match the room layout. For models with smart mapping, creating a new map can help the robot navigate the updated space.
Dust on the cliff sensors or navigation sensors can also affect docking. Wipe these areas regularly with a dry, soft cloth and remove any visible debris.
For MOVA robot vacuums with smart navigation and advanced mapping, accurate maps help the robot identify cleaning areas and navigate back to the charging station more efficiently.
Restart Your Robot Vacuum to Fix Temporary Charging Errors
A temporary software glitch can sometimes affect how a robot vacuum detects the charging dock or reports its charging status. If the dock has power and the charging contacts are clean, restarting the robot is a simple step to try before moving on to more advanced troubleshooting.
How to Restart the Robot Vacuum
- Turn off the robot vacuum using the normal power control.
- Wait about 30 seconds.
- Turn the robot back on.
- Place it manually on the charging dock.
- Check whether the charging indicator appears or the battery status starts to update.
A restart can be useful if the robot suddenly stops charging, repeatedly leaves the dock, or does not recognize that it has been placed on the charging station. It can also help after the robot has experienced an unusual navigation or docking error.
Restart vs. Factory Reset
A restart simply turns the robot off and on again and normally does not remove your saved settings or cleaning maps.
A factory reset returns the device to its original settings and may remove saved maps, schedules, WiFi information, and other data depending on the model. For this reason, a factory reset should not be the first step for a charging problem.
If restarting does not solve the issue, continue by checking the dock position, charging contacts, sensors, and battery status before considering a factory reset.
Check the Battery Condition of Your Robot Vacuum
If the dock and charging contacts are working normally but the robot still has charging problems, the battery may need attention. However, a battery issue usually shows up through changes in runtime or charging behavior rather than simply failing to charge once.
Common signs of a battery problem include:
- The robot runs for only a few minutes after charging.
- The battery drains much faster than it used to.
- The robot shuts down unexpectedly during cleaning.
- Charging stops before the battery reaches its normal full capacity.
Robot vacuums typically use lithium batteries, which naturally lose capacity as they age. Frequent cleaning cycles and long periods without use can also affect battery performance. Temperature matters as well, so avoid storing or charging the robot in very hot or cold locations.
During winter, avoid leaving the robot vacuum or charging dock in an unheated garage or another area exposed to very low temperatures. Keep the vacuum in a suitable indoor environment and follow the temperature requirements provided for your specific model.
If the robot has normal runtime but simply will not charge, check the dock and charging contacts first rather than assuming the battery needs to be replaced.
Update the Robot Vacuum App and Firmware
Some charging or docking problems can be related to outdated software. If the basic checks have not solved the issue, open the manufacturer's app and check the robot's current status.
Look for:
- Available firmware updates
- Error notifications
- Battery or charging status
- Connection problems
For MOVA robot vacuums, the app can be used to check device status, manage cleaning settings, and install firmware updates when they are available. Keeping the robot's software up to date can help ensure you have the latest improvements and fixes provided for your model.
If an update is available, follow the instructions in the app and keep the robot connected to its charging dock during the process when instructed.
Final Thought
A robot vacuum that won't charge is often caused by something simple, such as dirty charging contacts, an obstructed dock, poor docking alignment, or a temporary software issue. Before replacing the battery, check these basics and keep the dock, sensors, and charging contacts clean.
For a more reliable long-term experience, a robot vacuum with smart navigation and dependable automatic charging can make everyday maintenance easier. MOVA robot vacuums combine intelligent navigation with automatic docking features to help reduce common charging interruptions.
FAQ
Why is my robot vacuum not charging on the dock?
Check that the charging dock has power and that the robot is sitting correctly against the charging contacts. Dust, pet hair, or debris on the contacts can also prevent charging. Clean the contacts with a dry microfiber cloth and try placing the robot back on the dock.
Why does my robot vacuum return to the dock but not charge?
The robot may be able to locate the dock but fail to make proper electrical contact. Check the charging contacts, dock position, and robot alignment. If everything looks normal, restart the robot and check its charging status in the manufacturer's app.
How do I fix a robot vacuum that won’t charge?
Start with the basics: check the dock's power connection, clean the charging contacts, make sure the dock has enough clear space, and restart the robot. Then check the battery condition and app for error messages or firmware updates. If the problem continues, follow the troubleshooting instructions for your specific model.
How do I clean robot vacuum charging contacts?
Turn off the robot if required by the manufacturer's instructions, then gently wipe the charging contacts on both the robot and dock with a clean, dry microfiber cloth. Remove dust and debris around the dock sensors as well. Do not spray water or cleaning products directly onto the contacts.
When should I replace my robot vacuum battery?
Consider battery replacement when the robot's runtime has noticeably decreased, the battery drains unusually quickly, the robot shuts down during cleaning, or it consistently fails to reach its normal charging capacity after other causes have been ruled out. Use a battery compatible with your exact model and follow the manufacturer's replacement instructions.